
Symmetries of Images
How it works
If you rotate a rectangle 180 degrees about its center, the rectangle looks the same. In general, given an image, if you can move it around so it looks the same, you’ve found a symmetry of that image.
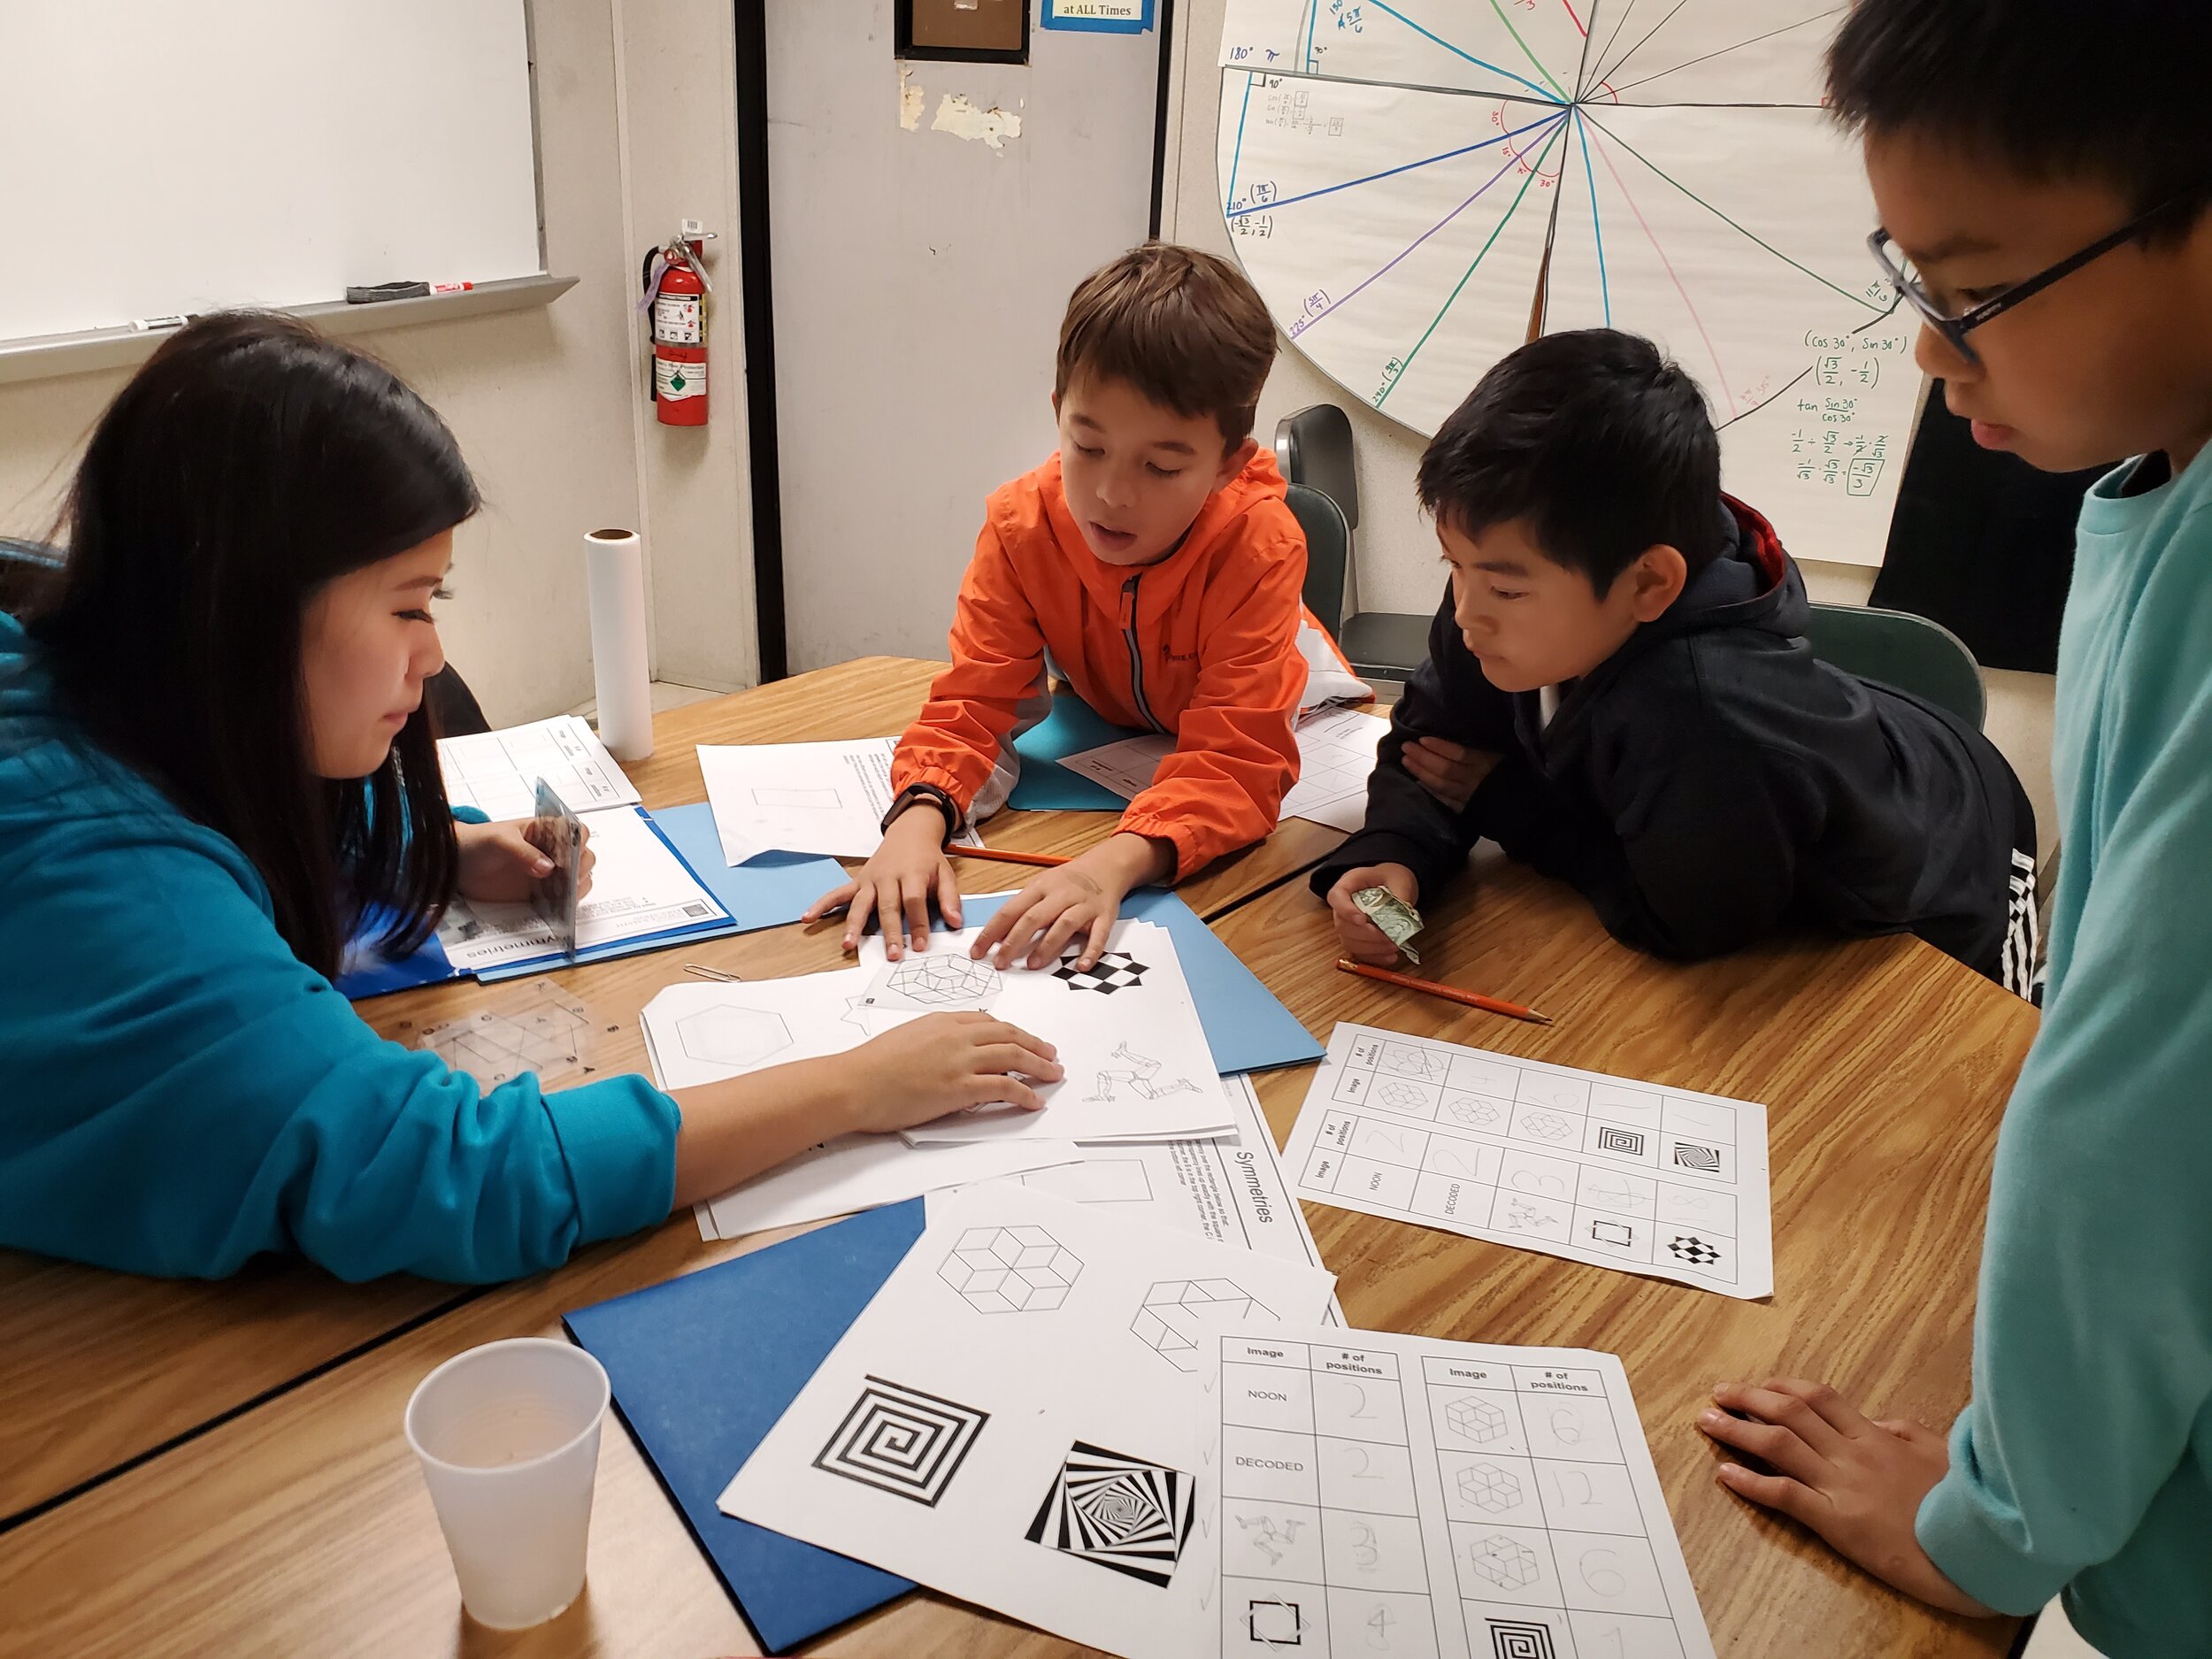
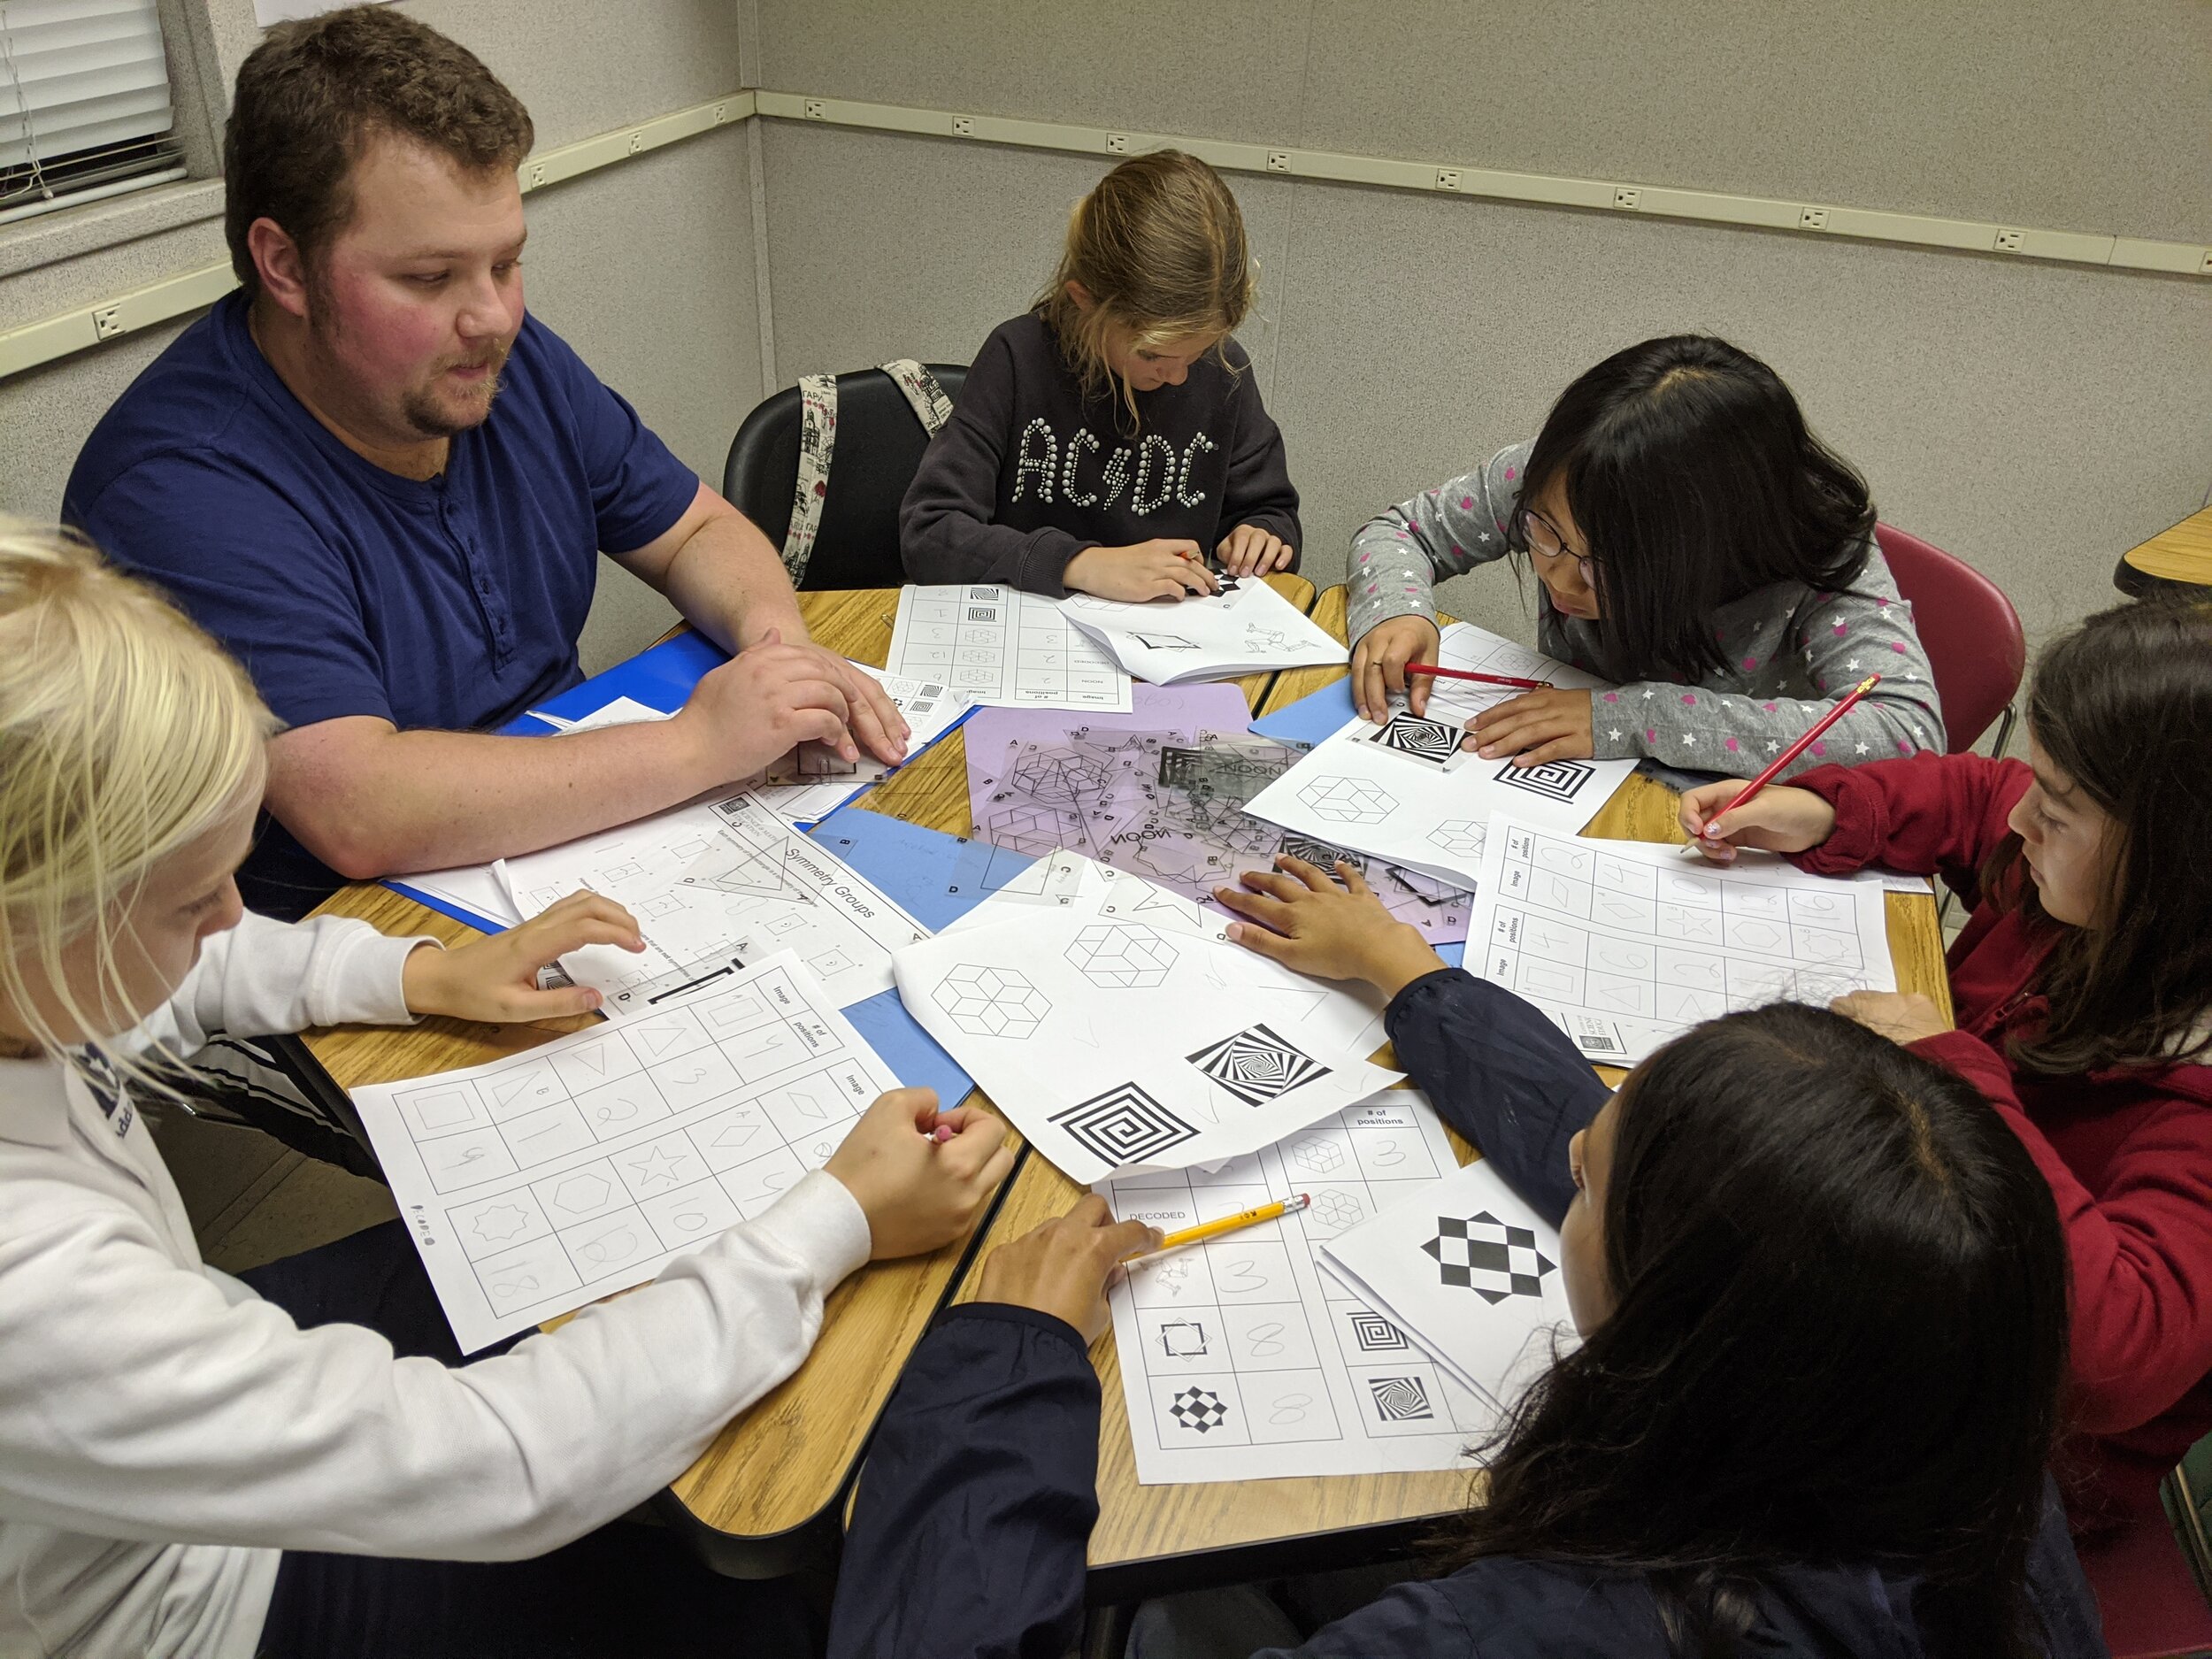
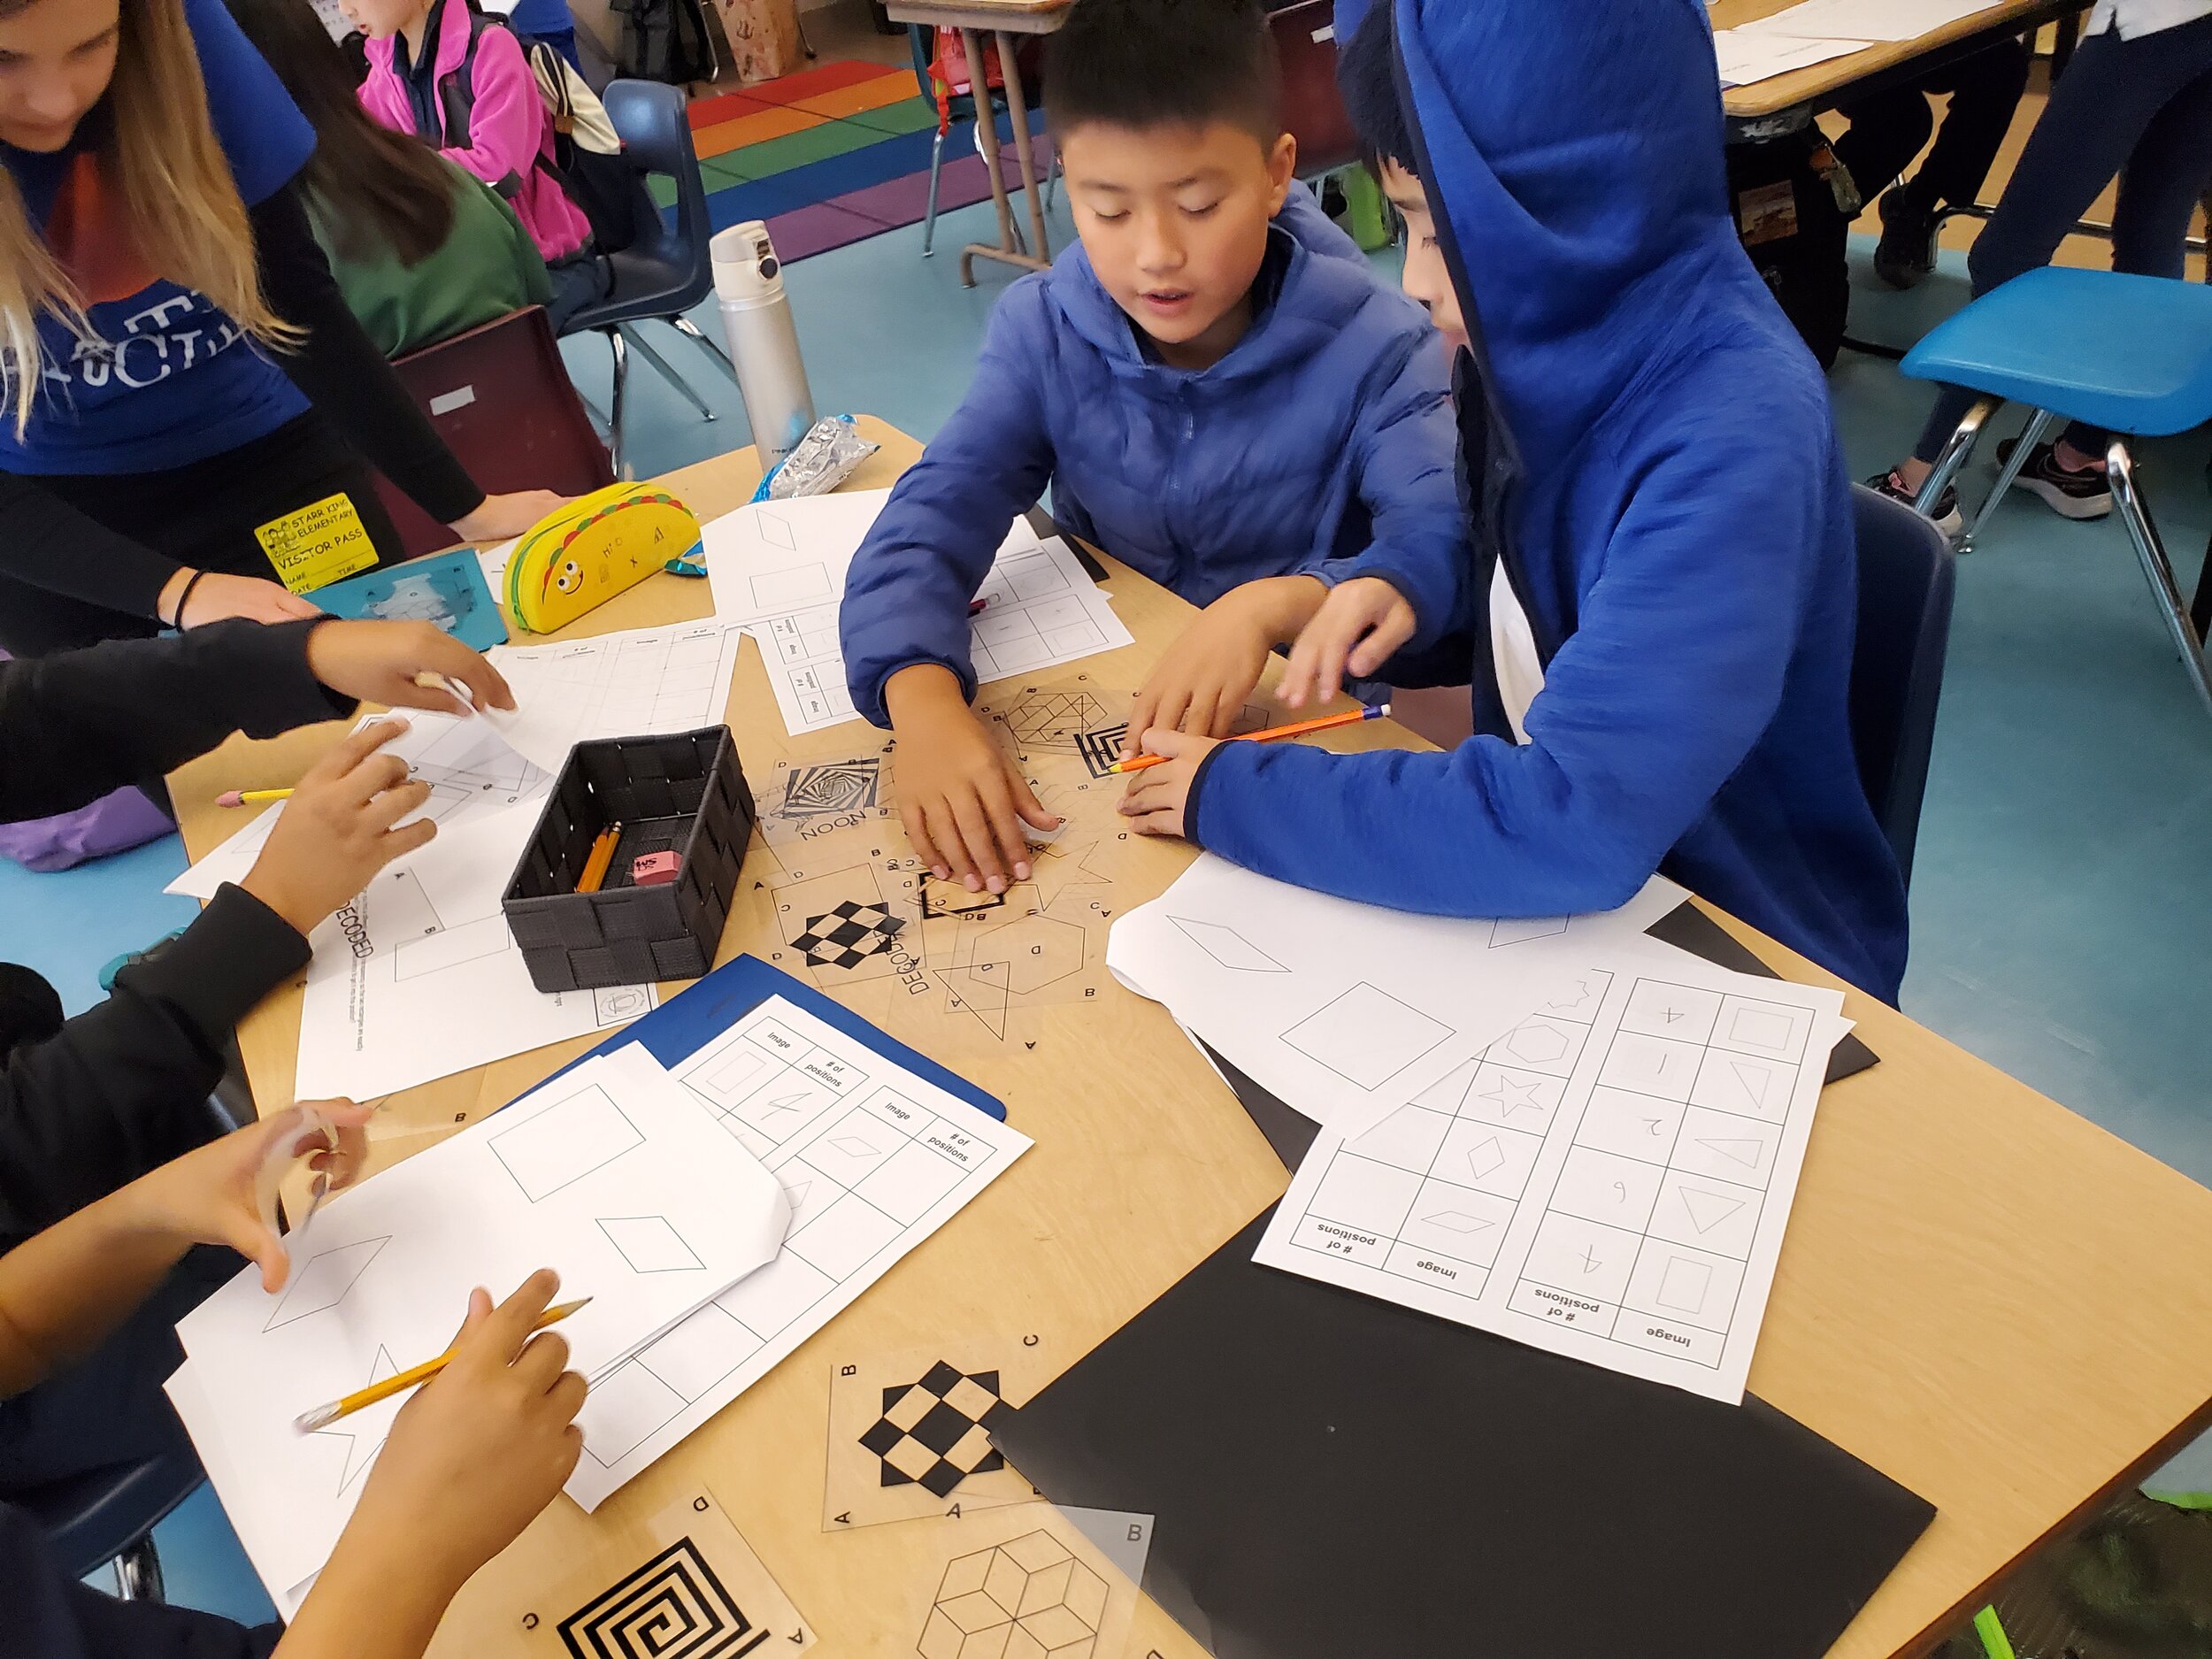
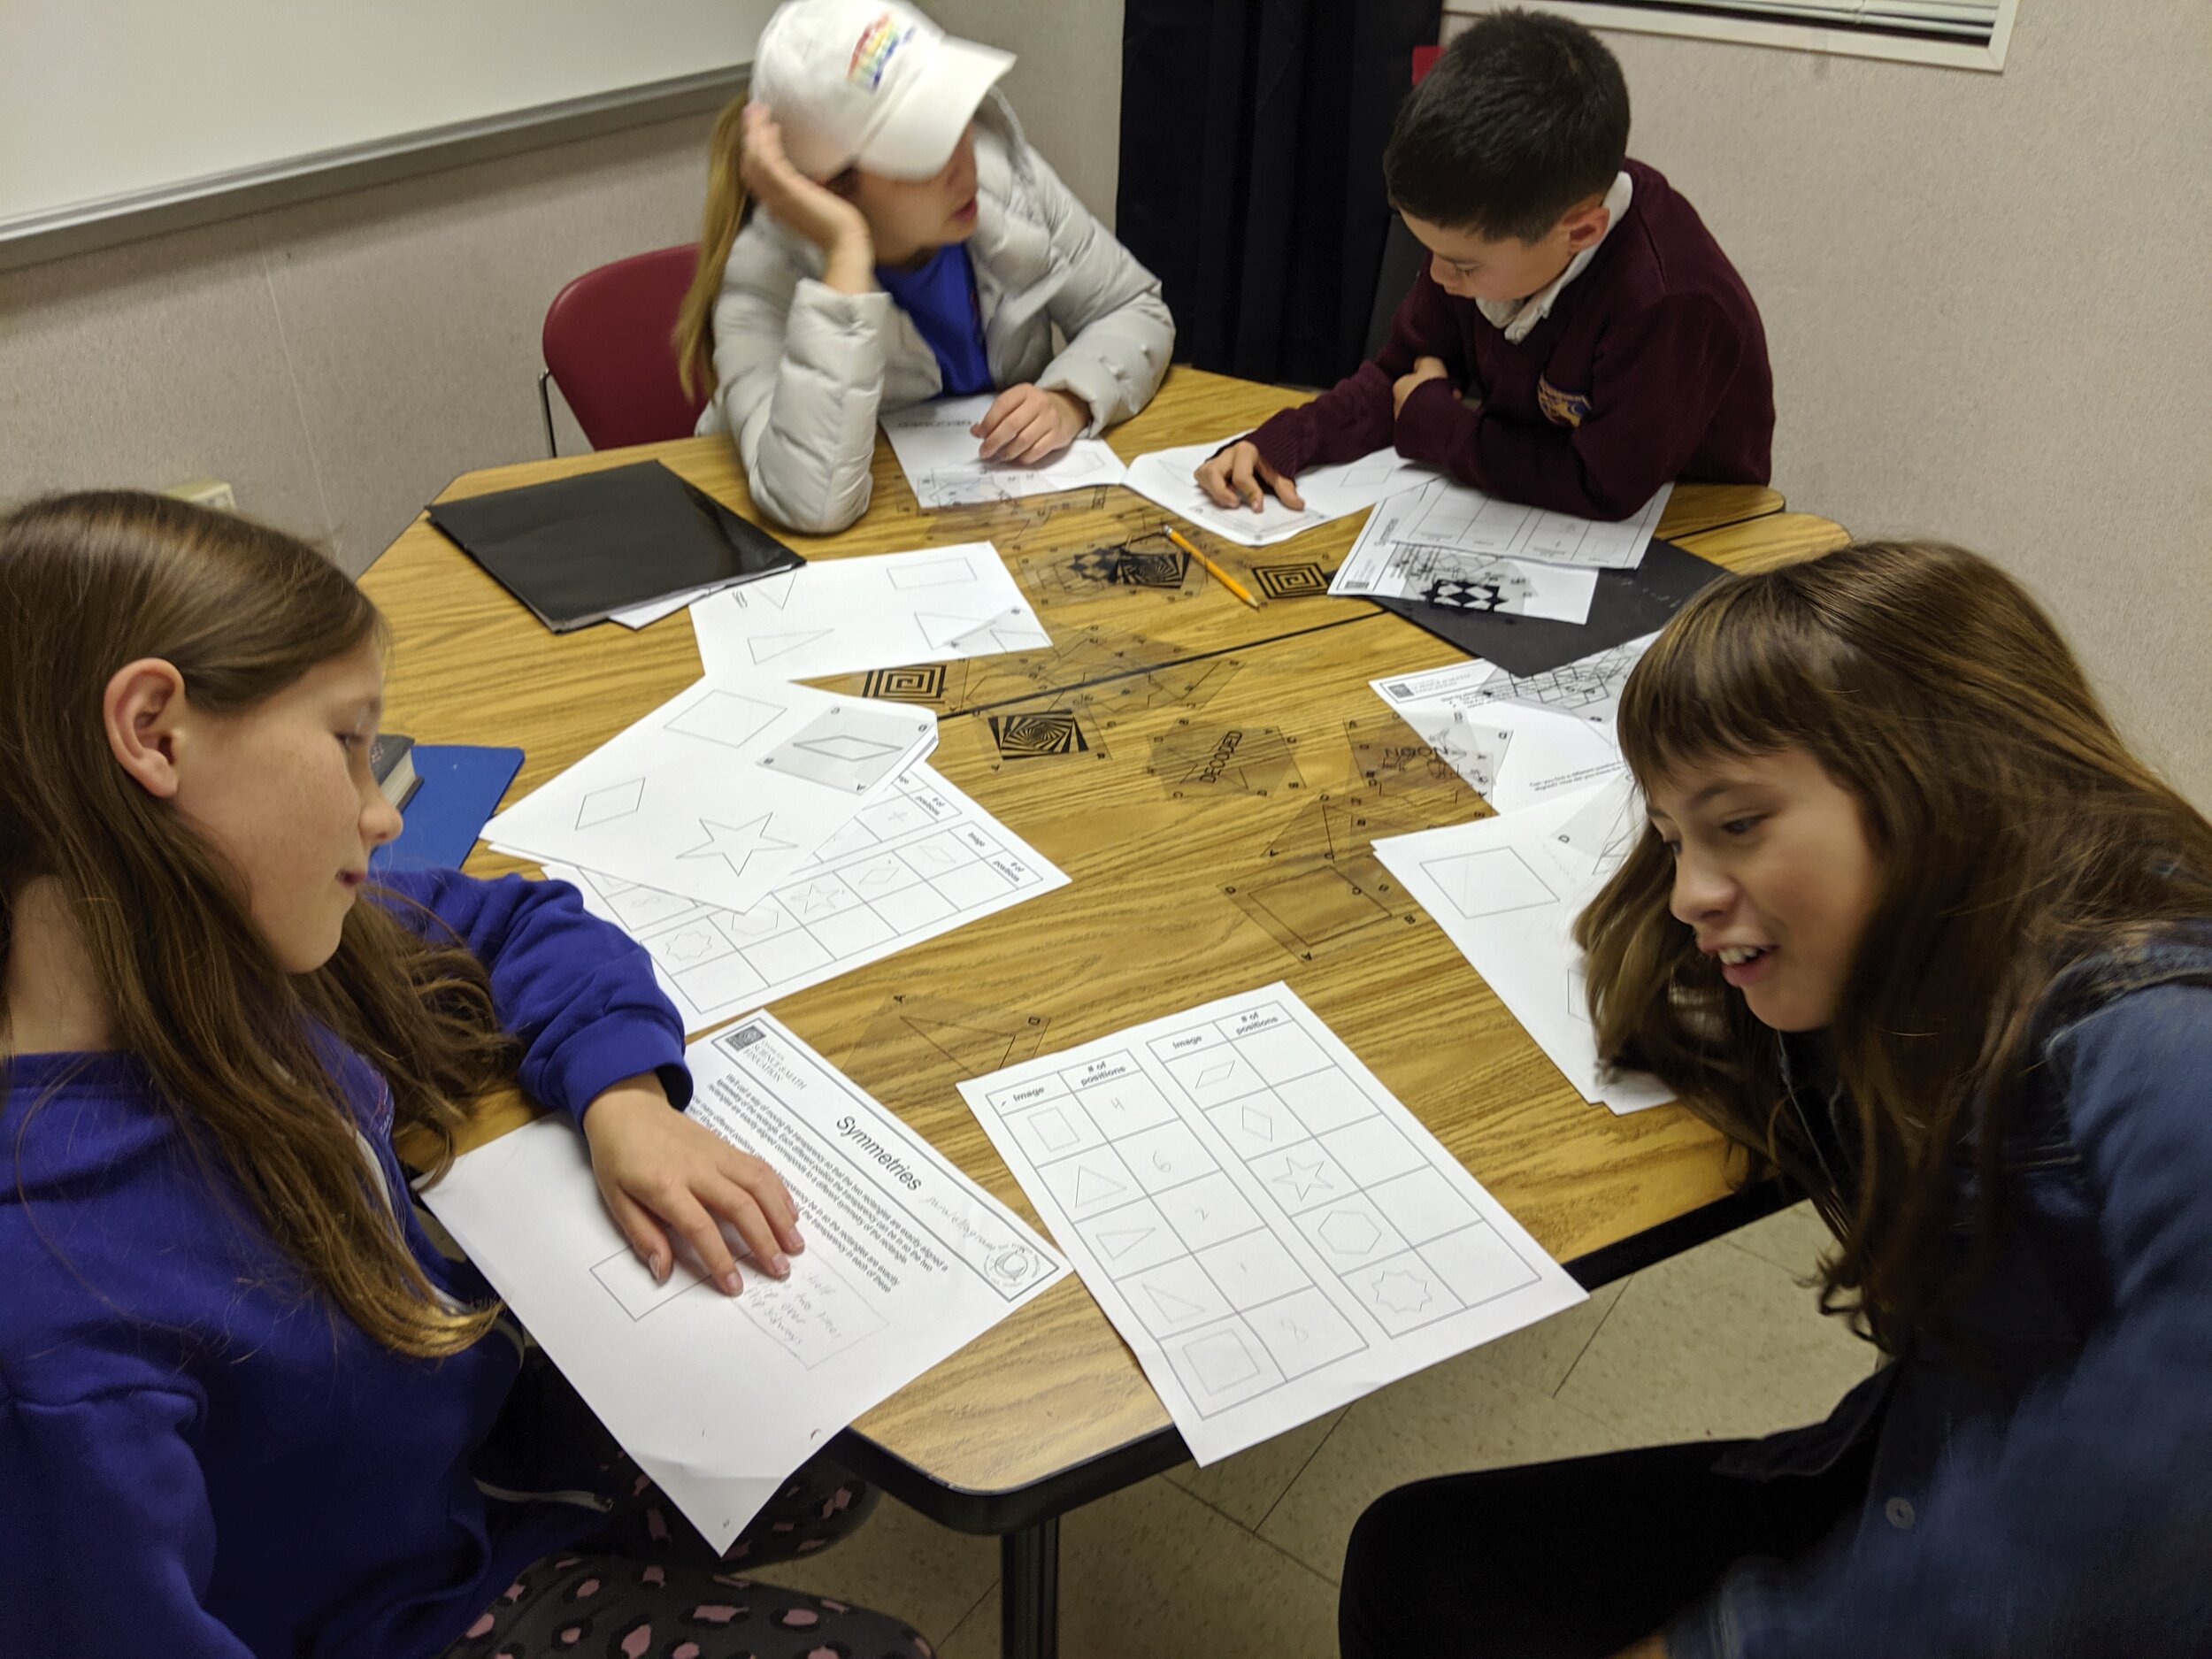
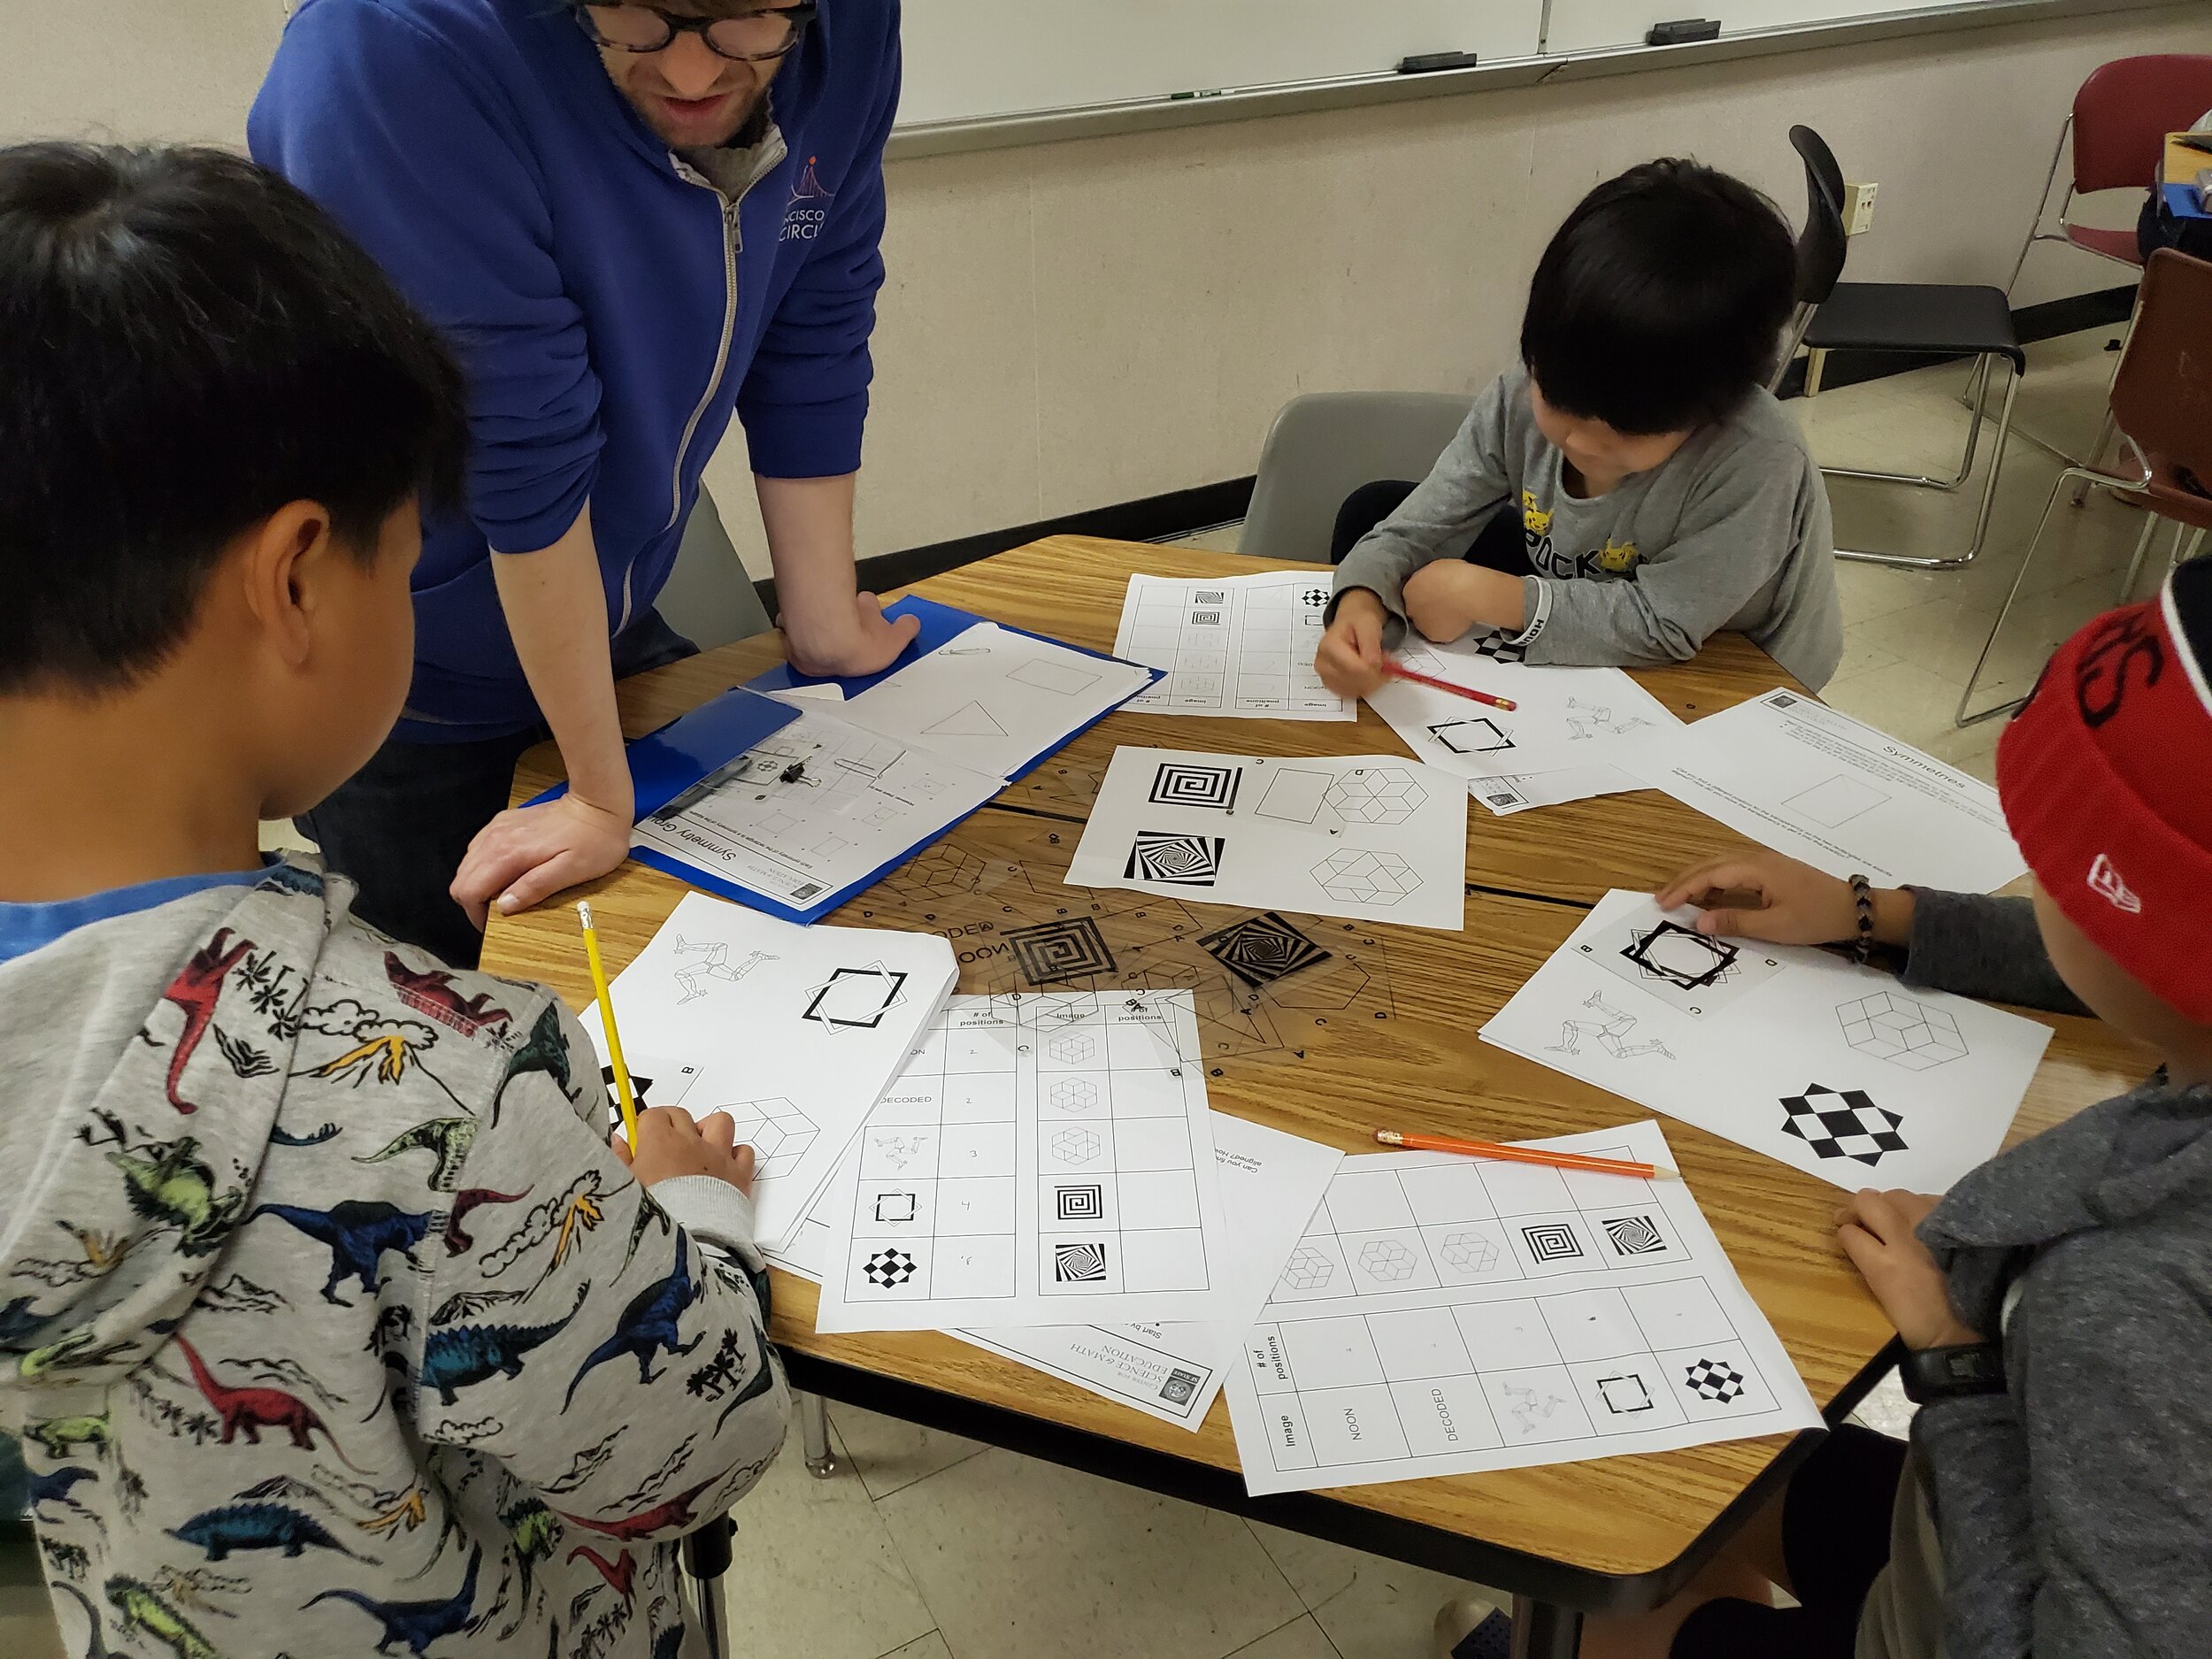
In this activity, students receive a packet of transparencies, each one with a different image, as well as a handout with the various images. For each image, their goal is to find all the different positions the transparency can be in so the image on the transparency exactly matches the image on the paper. Each different position corresponds to a different symmetry of the image. Students discover that different images have different symmetries!
Next, students sort their images into groups so that the images in each group have exactly the same set of symmetries. (So, for example, a rectangle and a square couldn’t be in the same group, because there are symmetries of the square that aren’t symmetries of the rectangle, like rotating by 90 degrees, but a rectangle and a rhombus are in the same group.)
Image Symmetries recording handout
Why we like this activity
- It’s fun! Students enjoy using the transparencies to find the symmetries of the images.
- It helps to develop spatial reasoning.
It requires students to engage in mathematical habits of mind:
Making observations / looking for patterns / finding and using strategies / understanding and explaining when trying to find all the symmetries of each image.
Making observations / comparing and contrasting when figuring out which groups of images have the same symmetries.
- It has a low floor and a high ceiling: Students can get started finding symmetries by trial and error, but there’s much more to explore and discover.